How PVC Wall Panels Are Made: Inside Our Production Line
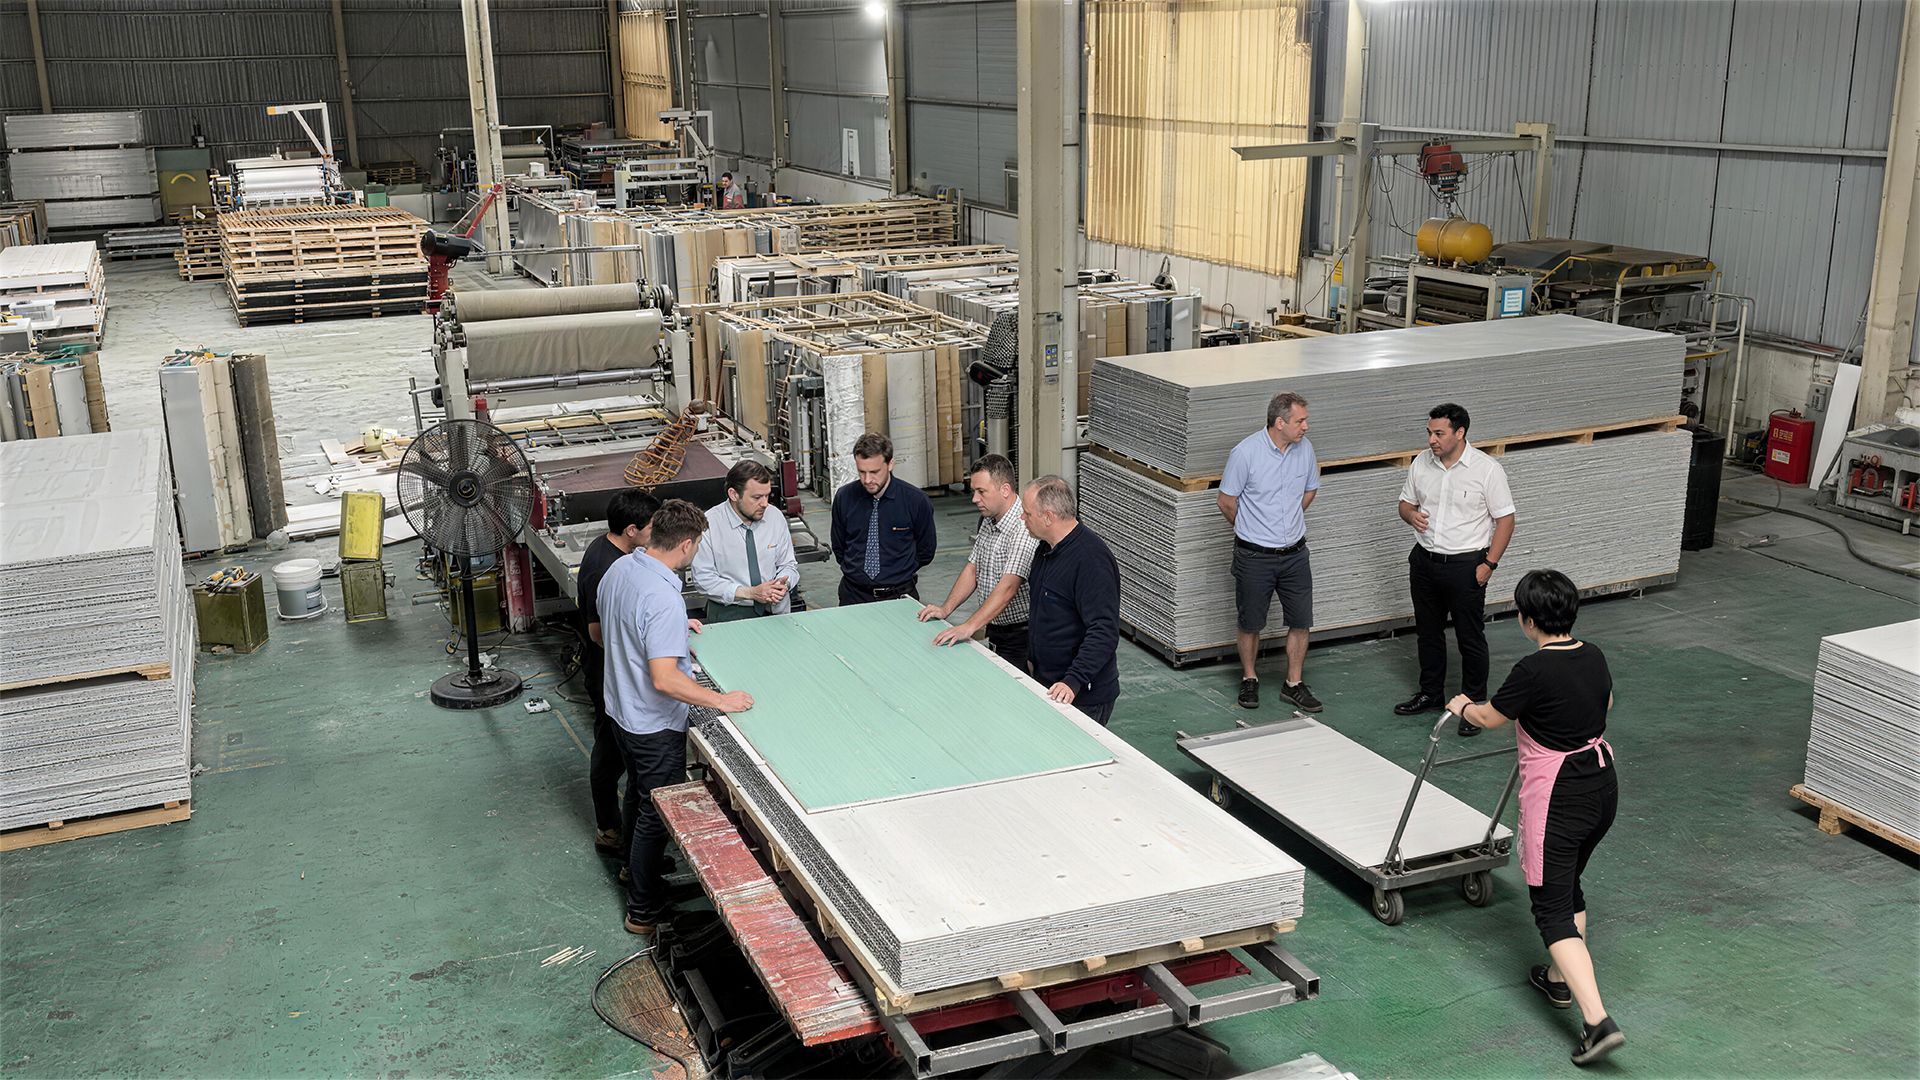
Most buying guides talk about wall panels the way a menu talks about food — thickness, finish, price — without ever walking into the kitchen. VIGOU Panels has run its own extrusion lines in Shandong, China since 2019, with over 100 skilled workers producing roughly 500,000 m² a month for customers in 50+ countries, so this is the kitchen tour: what actually happens between a bag of raw resin and a panel on your container.
The Short Answer
A PVC wall panel is made by melting a PVC-resin compound in a twin-screw extruder, forcing it through a shaped die to form the hollow-core profile, pulling it through a water-cooled vacuum calibration table to lock in its exact dimensions, cutting it to length, applying a decorative surface film, and running it through quality checks before packing. Seven steps, one continuous production line, no separate factories for "the plastic part" and "the pretty part."
Step 1 — Raw Material Batching & Mixing
Every batch starts with a weighed recipe, not a rough scoop: PVC resin as the binding matrix, calcium carbonate powder as mineral filler for rigidity and cost efficiency, plus stabilizers, impact modifiers and — for our carbon crystal line — bamboo-charcoal or wood-fiber powder for density. The dry ingredients are blended in a high-speed mixer until the mix reaches a uniform color and texture; an inconsistent mix at this stage shows up 10 minutes later as streaking or weak spots in the extruded sheet, so this step gets checked by eye and by weight on every batch, not sampled occasionally.
Step 2 — Twin-Screw Extrusion
The mixed compound feeds into a twin-screw extruder, where rotating screws melt and compress it under heat — typically in the 165–195°C range across the extruder's heating zones, an industry-standard band for PVC profile extrusion rather than a single fixed number, since it's tuned batch to batch for humidity and exact formula. The molten compound is forced continuously through a steel die machined to the panel's cross-section, including the internal ribs that give a hollow-core panel its strength-to-weight ratio and the tongue-and-groove edge profile that lets panels click together on the wall.
Step 3 — Vacuum Calibration & Cooling
The soft, still-hot profile leaving the die would sag and distort if left alone, so it's immediately pulled through a vacuum calibration table — a water-jacketed steel mold that uses negative pressure to draw the profile flat against its polished cavity walls while circulating cooling water freezes the shape in place. This is the step that actually decides a panel's final width, thickness and flatness; a worn or misaligned calibration block is the single most common cause of a panel that looks fine on the pallet but won't sit flush on the wall.
Step 4 — Cutting to Length & Edge Profiling
A continuous puller feeds the cooled profile at a controlled speed while a flying saw cuts it to standard lengths — 2.44, 2.60, 2.80 or 3.00 m for our carbon crystal line, at a fixed 1.22 m width. The tongue-and-groove edges are already formed by the die, so this stage is purely about length accuracy and a clean, square cut — an off-square end is what causes visible gapping at floor and ceiling trims months after installation, long after anyone remembers it started at the saw.
Step 5 — Surface Lamination
The extruded blank is a uniform base color; the wood, metal, mirror or stone pattern is added afterward as a film, bonded by cold lamination (adhesive-bonded, common for wood and fabric textures) or hot lamination (heat-pressed for a tighter bond), or a PET film for high-gloss and metallic finishes. We cover this stage in far more depth — including register embossing and how texture gets aligned to the printed pattern — in our high-end panel finishes guide and our carbon crystal materials breakdown.
Step 6 — Quality Control & Testing
Quality control on a panel line is continuous, not a final gate: thickness is spot-gauged at intervals along every run, surface film adhesion is checked by hand-peel testing on sample offcuts, and finished panels are batch-sampled for the same soak, burn and bend tests we recommend importers run themselves — detailed in our sample-testing guide. Panels outside spec on thickness, flatness or lamination bond get pulled before they reach the packing line, not sorted out at the customer's end.
Step 7 — Packing & Container Loading
Finished panels are stacked flat on wooden pallets, corner-protected and shrink-wrapped to prevent bowing or edge damage in transit, then loaded to fill a container's usable volume — thickness is the deciding factor here, since a 5 mm carbon crystal panel packs roughly 60% more square meters into the same 40-foot container than an 8 mm SPC panel. The full math on loading volumes and pricing tiers is in our MOQ and container loading guide.
| Step | What Happens | Why It Matters |
|---|---|---|
| 1. Mixing | PVC resin + calcium filler + additives blended to a uniform batch | Uneven mix causes streaking and weak spots downstream |
| 2. Extrusion | Melted compound forced through a shaped die at ~165–195°C | Die geometry sets the hollow-core structure and click profile |
| 3. Calibration & cooling | Vacuum table + water cooling locks in exact dimensions | Decides final flatness, width and thickness accuracy |
| 4. Cutting | Flying saw cuts to standard lengths (2.44–3.00 m) | Square, accurate cuts prevent trim-gap issues later |
| 5. Lamination | Decorative film bonded via cold/hot lamination or PET film | Determines surface look, texture and scratch resistance |
| 6. QC & testing | Thickness, adhesion, soak/burn/bend spot checks | Catches out-of-spec panels before packing, not after shipping |
| 7. Packing | Palletized, corner-protected, loaded by thickness math | Protects panels in transit and maximizes container yield |
Honest Limits: What Manufacturing Can't Fix
A tightly run production line still can't outrun bad weather logistics — surface lamination bonds most reliably in stable temperature and humidity, so a run of unusually humid days during monsoon season can add a few days to lead time as we hold batches for proper cure rather than ship a weaker bond. It's a minor scheduling issue, not a quality one, but we'd rather say so upfront than have a buyer surprised by a shipping date that moved by 2–3 days.
Want to See the Line Yourself?
We host qualified buyers for factory visits and can walk any order through the same steps above on video call if an in-person visit isn't practical yet.
Request a Quote →Frequently Asked Questions
Is PVC wall panel manufacturing complicated?
The individual steps are well-established extrusion technology, but consistency across every batch — mix ratios, calibration wear, lamination cure — is where factories actually differentiate. The process is simple to describe and hard to run at scale without quality drift.
How long does it take to produce a container's worth of panels?
For stock designs, typically 7–15 days including QC and packing; OEM colors or film run longer depending on lamination scheduling. Contact us with your target ship date for a firm timeline.
Do you keep panels in stock or make everything to order?
We keep common thicknesses and best-selling surface designs in stock for faster shipping, while OEM colorways and larger volumes run as production orders.
If the process is basically the same everywhere, why do quality levels differ so much between suppliers?
Because the same seven steps can be run loosely or tightly. Thinner resin-to-filler ratios, skipped calibration checks, and rushed lamination cure all still produce a panel that looks fine on day one — the differences show up in flex, edge durability and film adhesion months later, which is exactly what our durability guide covers.
Can I visit the factory or see the line running before I order?
Yes — qualified buyers are welcome to visit our Shandong facility, and we regularly do live video walkthroughs of the line for buyers who can't travel yet.