How to Install Shower Wall Panels: Adhesive, Over-Tile & Corner Details

Knowing how to install shower wall panels properly is mostly about water. The board itself is the easy part. What goes wrong in a shower is nearly always at the edges: the joint at the tray, the hole for the mixer valve, the corner where two walls meet. Get those right and a panelled shower stays dry behind the face for years. Get them wrong and no board, however good, will save the wall.
This guide is written for the contractors and distributors we supply, and for their installers. It deals only with the wet zone. If you are panelling a dry wall, a living room or a vanity area outside the splash line, our general guide on how to install PVC wall panels covers that layout and fixing in more detail. Here we pick up where that one stops.
Before Anything Else: Know the Board You Are Fitting
"Shower wall panel" covers a lot of products, from thin acrylic sheets to laminated boards. The steps below are written around our own shower wall panels, which are SPC stone crystal boards: a rigid limestone-and-PVC core, waterproof through the full thickness, supplied in 600 mm and 1,220 mm widths. Most of the method carries over to other rigid boards, but check your own product sheet where it matters.
Thickness changes how the job feels on site, mostly because of weight. These are the figures from our size table, with the weight of one 1,220 × 2,440 mm sheet worked out from them:
| Board thickness | Weight per m² | One 1,220 × 2,440 mm sheet (approx.) | Typical use |
|---|---|---|---|
| 3 mm | 6.3 kg | 19 kg | Overlay on existing tiles |
| 4 mm | 8.4 kg | 25 kg | Overlay on existing tiles |
| 5 mm | 10.5 kg | 31 kg | General shower walls |
| 6 mm | 12.6 kg | 38 kg | Deeper CNC grooves |
| 7 mm | 14.7 kg | 44 kg | Deepest CNC grooves |
A 44 kg sheet is a two-person lift, and it needs adhesive with real initial grab or some temporary support while it sets. Worth knowing before the crew turns up with one cartridge and a single pair of hands.

Step 1 — Decide: Over the Tiles or Back to the Wall?
Most shower panel jobs are renovations, and the big selling point is skipping the demolition. Going over old tiles is fine. It just isn't automatic.
- Tap every tile with the handle of a screwdriver. A hollow sound means the tile has lost its bond. Remove it and fill the gap flush, or the panel will be glued to something that moves.
- Check flatness with a long straightedge, across and down. Rigid boards bridge small dips, but a bow or a step between old tiles shows through, especially on gloss marble finishes under a downlight.
- Clean the glaze. Soap film and body oils sit on shower tiles for years. Degrease thoroughly, rinse, and let it dry. Then do whatever the adhesive maker specifies for glazed tile, which is often a light key with abrasive paper or a primer.
- Look for damp. If the old grout is black right through, or the wall behind is soft, water has already got in. Panels over a wet wall just hide the problem. Strip back that section and dry it out first.
Then think about depth. Every millimetre you add moves the finished face out toward the shower valve, the screen channel and the door frame. This is why the 3 to 7 mm range exists, and why thinner boards are the usual pick for overlay jobs. If the mixer is already set deep in the wall, a thin board may let you keep the existing trim plate.
Step 2 — Plan Joints Away From the Spray
Before cutting anything, draw the wall. With 2,440, 2,600, 2,800 and 3,000 mm lengths available, you can usually go floor-to-ceiling without a horizontal joint, which is the single best thing you can do in a shower. A horizontal seam in the spray zone is a seam that gets hit with water every day.
For vertical joints, try to land them away from the shower head's direct line. On a typical enclosure, a 1,220 mm sheet can cover the back wall in one piece. If your design uses tile-effect panels with a carved groove pattern (300 × 600, 150 × 400, 200 × 800 or 100 × 300 mm), line the pattern up across neighbouring sheets on paper first. A grid that steps by 20 mm at a joint looks like a mistake from the doorway.
Let the boards sit flat in the room for a day or so before fitting, as we describe in our list of common panel installation mistakes. Boards that come straight off a cold truck and go onto a warm bathroom wall are asking for trouble at the joints.
Step 3 — Cut the Holes Before the Glue Comes Out
Measure the valve, the shower arm and any niche twice, from the same reference point (the corner and the tray top work well). Mark them on the face of the board with a pencil. Cut round holes with a hole saw, slightly larger than the pipe, so the board can move a little and there is space for a ring of silicone. Rectangular openings can be cut with a jigsaw and a fine blade, starting from a drilled corner.
Dry-fit the sheet with the holes cut. It is much cheaper to find a 10 mm error now than with adhesive on the back.
Step 4 — Adhesive: Type, Pattern, Pressure
Choose an adhesive that its maker says is suitable for wet rooms and for bonding plastic or composite boards. In practice that usually means a hybrid polymer (often sold as MS polymer) panel adhesive. Avoid solvent-based contact glues, and avoid anything that relies on air to cure, because a large non-porous sheet seals it off from the air.
Apply it in vertical beads across the back of the board, roughly a hand's width apart, and keep it back from the edges so it doesn't squeeze into the joint. Add a few dabs near the top and around cut-outs. Vertical beads let any trapped moisture drain down rather than pooling behind the face, which is the reason we prefer them to blobs or a grid.
Offer the sheet up from the tray line, press it on firmly from the centre outwards with a clean roller or the flat of your hand, and check plumb straight away. With the heavier boards, prop the sheet with a timber batten or use painter's tape across the joint until the glue takes. Respect the open time on the cartridge. Glue that has skinned over before the board touches it won't hold.
Step 5 — Corners: Where Most Leaks Start
Internal corners
Butt the second board into the first with a small gap and close it with a neat bead of sanitary-grade, mould-resistant silicone. Or use a matching internal corner trim and seal it to both faces. Either works. What doesn't work is a tight dry joint with nothing in it; water finds that within a week.
External corners
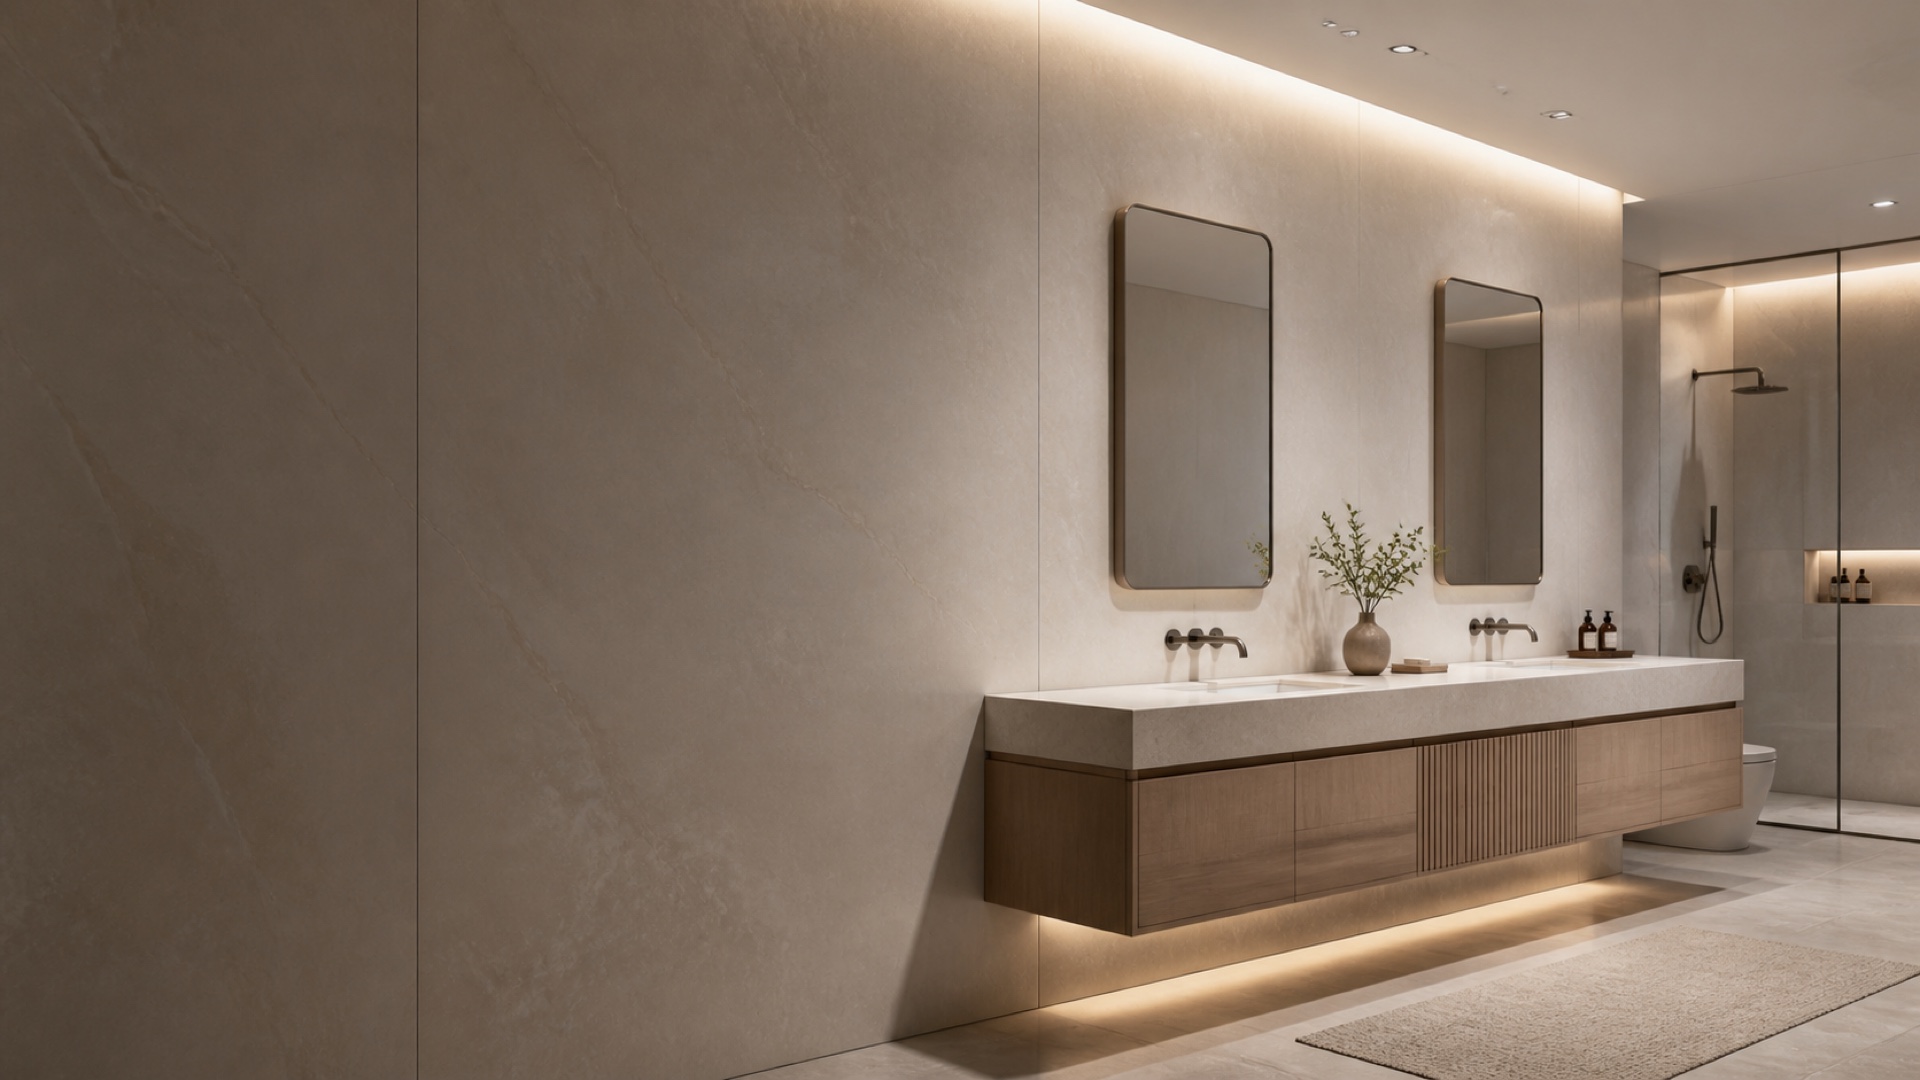
This is where a shower niche, a half-wall or a partition end can look cheap if it is finished with a bulky plastic angle. Our installation references show the alternative: the board is cut on site and folded around the external corner, so the face runs continuously round the edge with no separate trim strip. It looks better, and there is one less edge for water to sit on. If you are doing this for the first time, practise on an offcut, and ask us for the reference before you start on the real wall.
Step 6 — Seal the Tray Line and the Penetrations
Leave a small gap between the bottom edge of the board and the shower tray or base. Don't sit the panel hard down on it. Once the adhesive has set, fill that gap with one continuous bead of sanitary silicone. Smooth it so water runs off the bead rather than collecting on top.
Do the same around every pipe and valve opening, then fit the trim plates. Seal vertical joints on the same day so nobody turns the shower on before the corners are closed. Then leave the silicone to cure fully, following the time on the tube, before the first shower. Most callbacks we hear about happen because someone tested the shower the same evening.
A Quick Pre-Handover Checklist
- No hollow tiles left behind the board.
- No horizontal joint in the direct spray zone.
- Groove patterns line up across sheets.
- Every pipe hole is oversized slightly and sealed.
- Internal corners sealed or trimmed, external corners folded or trimmed and sealed.
- Continuous silicone bead along the tray line.
- Sealant fully cured before the shower is used.
What This Means If You Are Buying for Installers
If you are an importer or distributor, the installation details above should shape your order as much as the finish does. Agree the thickness with your installers first: thin boards for overlay renovation, thicker boards if the design calls for deep tile-effect grooves. Pick lengths that match the ceiling heights in your market so floor-to-ceiling sheets are the default. And put the corner method on the table early, because folding external corners on site needs a little training, and your crews should see it before the container lands.
Packing is worth checking too. Our size table lists the maximum sheets per package for each thickness and size, for example 80 sheets of 5 mm board at 1,220 × 2,440 mm, which helps when you plan how much one installer can unload and move in a day.
Get Samples Your Installers Can Cut and Fold
Tell us the board thickness, length, finish and groove pattern you are considering, plus your destination port. We'll send samples so your crew can try the cuts, the adhesive and the corner fold before you order.
Request Samples & a Quote →Frequently Asked Questions
Can you put shower wall panels over tiles?
Yes, as long as the tiles are firmly bonded and the wall is flat. Tap every tile and replace or fill any that sound hollow, degrease the glaze, and treat it the way your adhesive maker asks, which often means a light sanding or a primer. Thinner boards in the 3 to 7 mm range are the usual choice for overlay work because they add little depth at the valve and the door frame.
What adhesive should I use for shower wall panels?
Use a panel adhesive that its maker states is suitable for wet areas and for plastic or composite boards, typically a hybrid polymer type. Avoid solvent-based glues and anything that needs air to cure through a large sheet. Apply it in vertical beads, keep it back from the edges, and follow the open time printed on the cartridge.
How do you finish the corners of shower wall panels?
Internal corners are usually butted with a small gap and closed with sanitary silicone, or covered with a matching internal corner trim. For external corners, our installation references show the board cut on site and folded around the corner, which gives a continuous face with no trim edge to catch water.
Do shower wall panels need silicone at the tray?
Yes. Leave a small gap between the bottom of the panel and the shower tray or base, then fill it with a continuous bead of sanitary silicone. That joint, together with the sealant at internal corners and around the valve, is what keeps water out of the wall behind.