How to Install PVC Wall Panels: Step-by-Step Guide
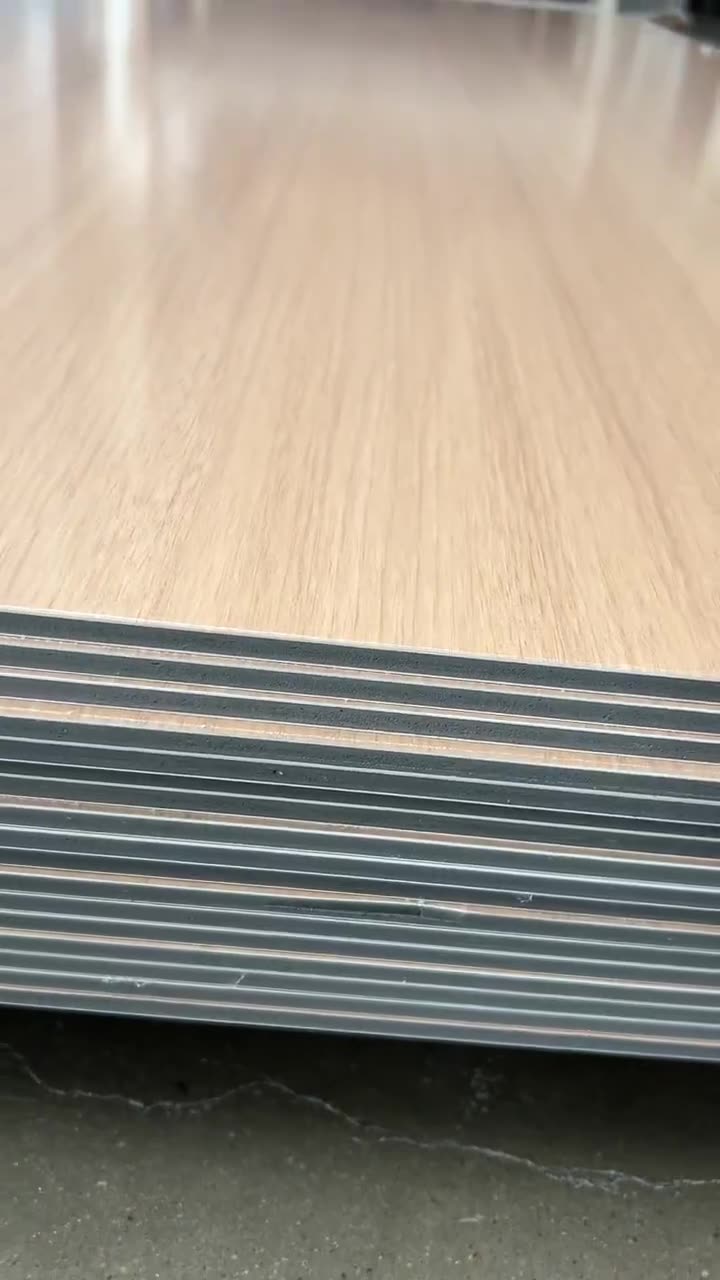
The single biggest reason contractors switch from tiles to PVC and SPC wall panels is speed: no tile adhesive beds, no grout, no curing time. With the tongue-and-groove click system, one installer realistically covers 20 m² per day — a full bathroom in a morning. Walls stay usable the same day.
This is the exact installation workflow we teach our distributors' crews. It applies to our carbon crystal panels (1.22 m wide, 5 or 7.5 mm thick) and SPC panels (8 mm) alike.
Tools & Materials Checklist
| Tools | Materials |
|---|---|
| Measuring tape + pencil | Wall panels (+5–8% for offcuts) |
| Spirit level or laser level | Construction adhesive / panel glue (solvent-free) |
| Fine-tooth circular saw, track saw or utility knife | Internal & external corner profiles |
| Caulking gun | Top / bottom / end trims |
| Rubber mallet + tapping block | Neutral-cure silicone (wet areas) |
| (Uneven walls) drill + screws | (Uneven walls) timber or metal battens |
Step 1 — Measure and Plan the Layout
- Measure wall height first. Our panels come in lengths of 2.44 / 2.60 / 2.80 / 3.00 m — order the step above your ceiling height so most walls need zero horizontal joints. Floor-to-ceiling in one piece is the premium look.
- Divide wall width by panel width (1.22 m) to count panels. If the final strip would be under 20 cm, trim the first panel instead so both ends look balanced.
- Start from the corner people see first when entering the room; hide cut edges in the least visible corner.
- Let panels acclimate in the room for 24 hours before fitting.
Step 2 — Prepare the Surface
Two routes, decided by one test — hold a 2 m level against the wall:
Flat, sound walls (gaps under ~3 mm): direct adhesive
Clean off dust and grease, remove flaking paint, let damp walls dry fully. You can glue straight over existing ceramic tiles, painted plaster or cement board — this is why renovators love panels: no demolition, no debris.
Uneven or damaged walls: batten frame
Fix timber or metal battens vertically at 40–50 cm centers, shimmed plumb. Panels then screw or clip to the battens. This also creates a service cavity for cables — popular in KTV, salon and shopfit projects.
Step 3 — Set the First Panel (the Make-or-Break Step)
- Place the first panel in your starting corner, groove side into the corner.
- Check plumb with a spirit level on the panel's face and edge. Adjust until perfect — every subsequent panel copies the first one's alignment.
- Apply adhesive to the wall or panel back in vertical S-shaped beads about 20 cm apart, keeping glue 5 cm off the edges so it doesn't squeeze into the joint.
- Press firmly, then slide micro-adjust within the glue's open time (typically 10–15 minutes).
Step 4 — Click the Following Panels
- Offer the next panel's tongue into the previous panel's groove at a slight angle, then rotate flat against the wall. The joint pulls tight and nearly disappears.
- Seat the joint with a tapping block and rubber mallet — never hammer the panel edge directly.
- Check level every 3–4 panels; drift compounds fast.
- Cut length or width with a fine-tooth saw, decorative face up with hand saws, face down with circular saws, to keep the film edge clean.
Step 5 — Corners, Sockets and Trims
- Internal corners: fit an internal corner profile, or butt panels and seal the joint.
- External corners: always use an external corner profile — it protects the most impact-prone edge in the room.
- Sockets & switches: measure twice, drill a pilot hole, cut the opening with a jigsaw or hole saw. Keep openings 2–3 mm generous; cover plates hide the edge.
- Top & bottom: finish with ceiling trim and skirting/bottom trim. Leave a 3–5 mm expansion gap at floor level — the trims conceal it.
Step 6 — Seal Wet Areas
In showers and around tubs, run neutral-cure silicone along panel-to-tray junctions, internal corners and any penetrations. The panels themselves absorb 0% water — sealing is purely about the joints. For the full wet-room logic, read our bathroom wall panels guide.
12 Pro Tips From Our Installer Network
- Buy all panels for one room from one batch — film runs can vary subtly between batches.
- Dry-fit the whole wall before opening the glue.
- In wood-grain designs, keep grain direction consistent — mixed direction screams DIY.
- Photograph the wall before paneling if it hides pipes/cables; future trades will thank you.
- Cold job site? Warm panels and glue to at least 10 °C before installing.
- Metallic and mirror-finish panels: leave the protective film on until the room's dirty work is done.
- Use offcuts around windows and above doors — waste drops under 5% with planning.
- Never fix panels rigidly at both ends; let trims and expansion gaps do their job.
- Heavy wall fixtures (TV mounts, cabinets) anchor through the panel into the wall or batten — never into panel alone.
- Wipe glue squeeze-out immediately with a damp cloth; cured glue needs solvent.
- On battens, add a horizontal batten wherever a panel joint lands.
- Train one crew member as the "first panel" specialist — alignment quality decides the whole wall.
Sourcing Panels for Your Crew or Store?
We supply full trim systems with every container and installation training videos for your team. Free samples for qualified buyers.
Request a Quote →Frequently Asked Questions
Can PVC wall panels be installed over existing tiles?
Yes — if the tiles are sound and flat, glue directly over them. No demolition needed, which is the fastest bathroom renovation route available.
How long does one bathroom take?
A typical 4–6 m² bathroom takes one installer half a day including trims, versus 2–3 days for tiling with curing time.
Do I need special tools?
No. Standard measuring, leveling and wood-cutting tools handle everything. A track saw gives the cleanest cuts but isn't mandatory.
Glue or battens — which is better?
Direct glue is faster and slimmer on flat walls. Battens win on uneven walls and when a cable cavity is useful. Both are fully supported by the same panels.